Tag: DIY

  • 5 Ways to Save Money on Guitar Maintenance

    5 Ways to Save Money on Guitar Maintenance

    Inflation sucks.

    Housing prices are insane (at least where I live).

    Groceries cost a lot more than they used to.

    Insurance rates and co-pays are going up.

    Unless you’re independently wealthy, you’ve been forced to tighten your belt a little bit more than usual this year. You’ve probably even had to forego some discretionary spending.

    That means saving money is more important now than ever.

    And luckily for you, over the years, I’ve become somewhat of an expert at saving money on guitars.

    (My only other option was to not buy guitars — and you know that ain’t happening.)

    You don’t have to run to a guitar tech for every last repair or fix.

    But I’ve also found ways to be frugal when it comes to maintaining and updating those guitars.

    And what I’ve learned is you don’t have to run to a guitar tech for every last repair or fix. There are a lot of things you can do yourself to keep your guitar playing and looking great.

    Here are five of them.
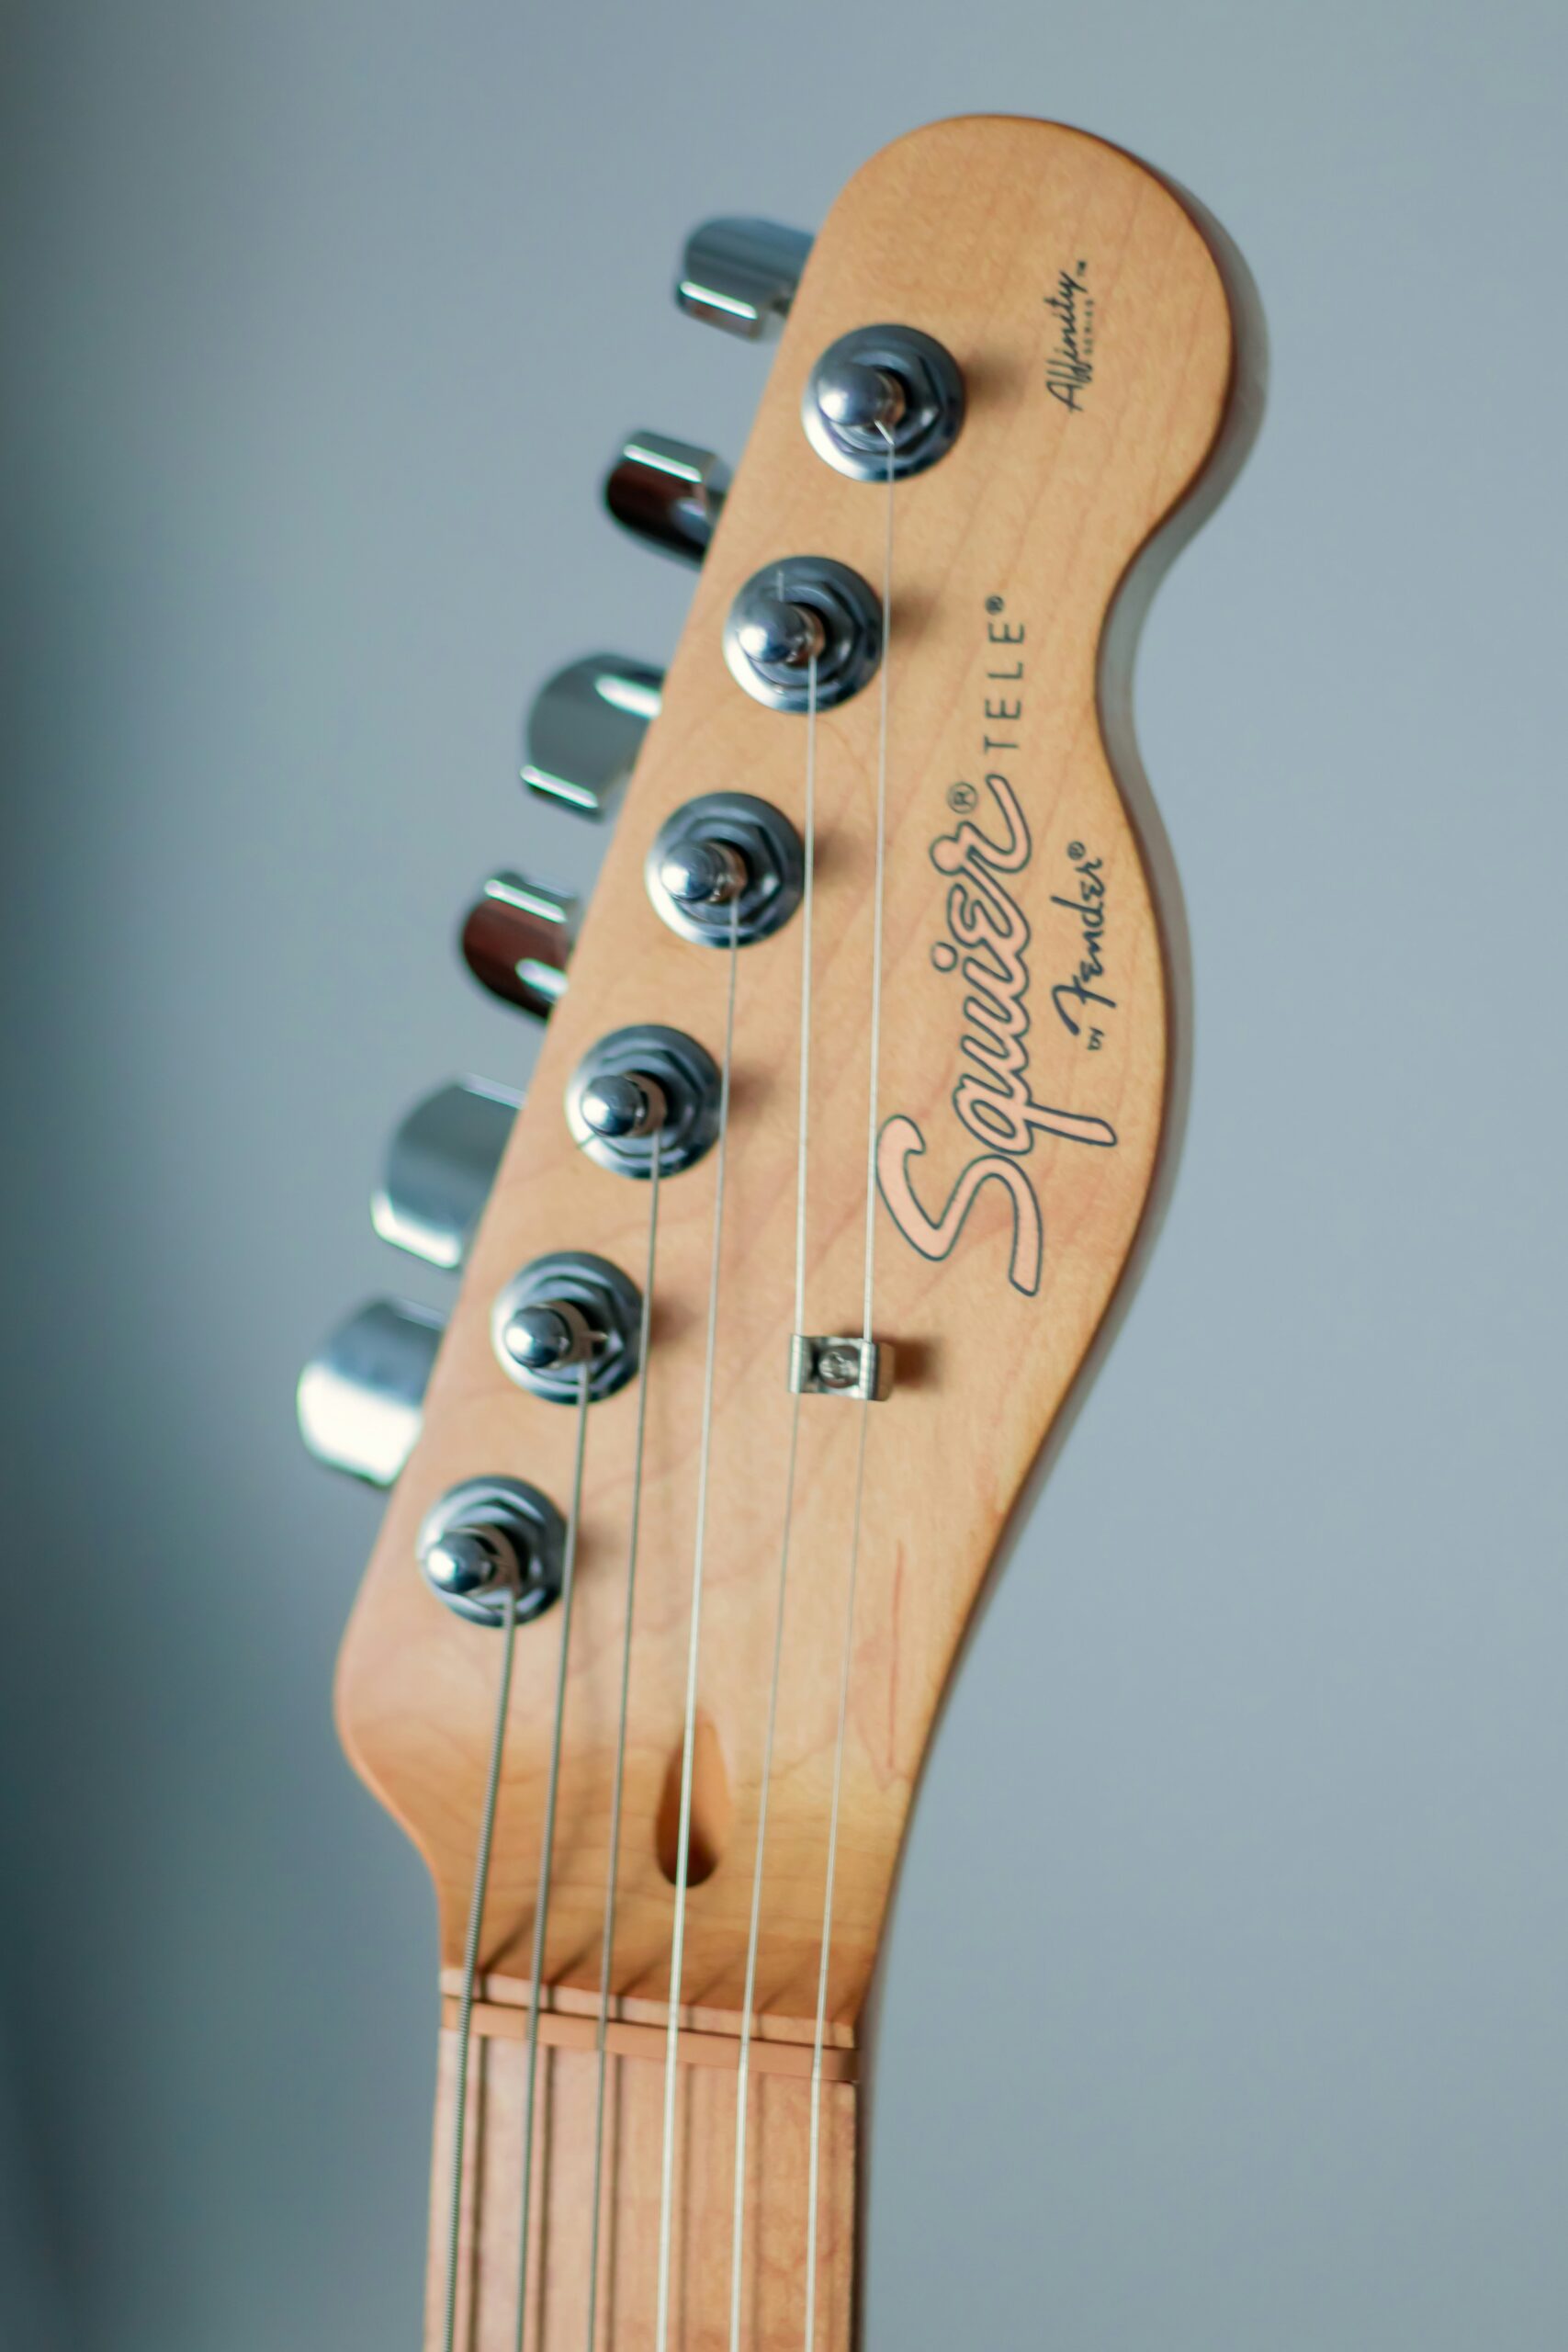
    Clean your strings!

    Let’s start with something so basic but so easy to forget.

    When you play your guitar, you’re constantly leaving dirt, oils, and sweat on it. That’s a bad combination if you want to keep your instrument looking and playing nice.

    Dirt gunks up your fretboard. Oils and sweat corrode your strings. It gets nasty.

    Spend 10 seconds wiping down your guitar strings with a rag after you’re done playing. You will be amazed at how much longer they last.

    The usual remedy is to change your strings more often and complain about how things don’t last as long as they used to.

    My friends, there is a better way.

    The simplest solution is to spend 10 seconds wiping down your guitar strings with a rag after you’re done playing. (For good measure, clean the back of the neck and anywhere the guitar has touched your arm while you’re at it.)

    If you commit to cleaning your strings before you put your guitar away, you will be amazed at how much longer they last. I haven’t done any scientific testing, but I estimate it triples the lifetime of the strings on my guitars.

    And while strings aren’t terribly expensive, they aren’t free either. Saving any amount of money by implementing something so quick and easy makes this a no-brainer.

    Use a locking strap

    I dropped my guitar on stage once.

    It slipped off the strap and…ca-chunk.

    I got extremely lucky; all that happened was the volume knob cracked (the pot was fine). One Amazon order and $5 of formed plastic later, and I was back in business.

    But it could have been worse. A lot worse.

    And that scare was enough for me to institute a new personal rule: “All thine guitars shalt have strap locks.”

    Yes, there is a small investment involved here (under $20). But the ROI is knowing that your precious axe won’t slip or fall while you’re playing.

    That was enough for me to institute a new personal rule: “All thine guitars shalt have strap locks.”

    That means no dings, no gouges, no snapped necks, and no broken headstocks — all of which are costly, headache-inducing repairs.

    (Don’t know where to start with strap locks? Here’s a great option that doesn’t require any modifications to your guitar.)

    Get a can of contact cleaner

    How many times have you been frustrated with guitar electronics?

    Maybe the volume knob crackles. Or the pickup selector switch is intermittent.

    If your first thought when this happens is crap, I gotta take this in for repair, I have good news.

    For about $15 on Amazon, you can pick up a can of electrical contact cleaner — and it will last you the rest of your natural life.

    More often than not, this is something you can fix yourself.

    For about $15 on Amazon, you can pick up a can of electrical contact cleaner—and it will last you the rest of your natural life.

    Using it is simple. Just spray a bit of solution in the knob or switch that’s giving you the issue (pro tip: use the spray straw it comes with) and work it in by twisting/moving the component back and forth for about 30 seconds.

    Congrats! You’re one step closer to being your own guitar tech.

    Learn the basics of guitar setup

    Speaking of being your own tech, I’m going to let you in on a little secret.

    Setting up an electric guitar is not difficult. At all.

    There are actually only a few things you have to do to set up a guitar, and unless there is a major issue, you can absolutely learn to do it yourself.

    That means saving $75 or more every time you buy a new axe.

    Setting up an electric guitar is not difficult. At all.

    I’m going to drop a few videos explaining the process below — including one that shows how you can literally get everything you need to do the job from Dollar Tree.

    A guitar setup is as easy as TRAIN
    How to set up a guitar on the cheap

    Assemble a dedicated toolbox

    This last money-saving guitar maintenance tip admittedly requires more of an up-front investment.

    But the savings over time will start to accumulate.

    It’s a smart move to assemble your own guitar maintenance toolkit.

    Even purchasing all of these items at once is worth it if you can avoid just one trip to the guitar doctor.

    Not only will a well-stocked toolbox unlock new repairs you can do at home, but it will make regular maintenance like string changes and setups much easier.

    Here are some of the supplies it pays to have on hand in a dedicated toolbox:

    • Rags
    • Guitar mat
    • Neck holder
    • Extra strings
    • Fretboard oil
    • Painter’s tape
    • Contact cleaner
    • String winder/clipper
    • Phillips head screwdrivers

    None of these things is expensive, and you probably have a fair amount of it lying around your house already (check your junk drawer, trust me). But even purchasing all of these items at once is worth it if you can avoid just one trip to the guitar doctor.

    TLDR: Guitar TLC doesn’t have to be expensive

    Guitars are many things:

    • They are tools.
    • They are investments.
    • They are extensions of our personalities.

    As such, they deserve to be cared for. And with a little bit of knowledge and planning, you can love on them and save money.

    And until prices fall or wages rise, saving money will continue to be the name of the game.

  • Five Ways to Improve Your Inexpensive Guitar without Breaking the Bank

    Five Ways to Improve Your Inexpensive Guitar without Breaking the Bank

    When I was just getting started on the guitar back in the 1990s, cheap guitars were just that — cheap. One of my first guitars was a Squier Stratocaster, and it was not a good guitar. To be honest, that guitar has tainted my view of the brand — admittedly unfairly — to this day.

    As the decades have progressed, however, this is often no longer the case. You can now buy an inexpensive guitar for a few hundred dollars that is anything but cheap. I have a Rondo SX that cost me less than $200 that plays great. I bought a new Ibanez semi-hollow-body guitar for $300 that hasn’t needed anything more than a string change. The fact is, overseas guitar factories have exponentially upped their game, which is great news for us as consumers.

    As good as they are, though, cheap guitars are still cheap for a reason. They might be solidly constructed and play well out of the box, but they also still have less expensive components, they probably aren’t set up very well at the factory, and there may be lingering issues here and there. But the good news is there are a lot of easy and cost-effective modifications you can make to an inexpensive guitar to make it even more playable. Today I want to discuss five of them.

    Use those knobs and dials

    Those knobs, dials, and switches on your guitar and amplifier are not just for show! You can actually use them to dial in your tone. For several years I played on a $100 Epiphone Les Paul and a $50 Behringer amp. You would think that playing on this kind of rig would result in a nightmarish tone. And it’s true, I was never going to sound like John Mayer with that setup, but I did manage to develop a good enough tone to do what I needed to do.

    Take the time to explore your rig’s tonal palette. See what the guitar sounds like with the tone or volume dialed back. Adjust the settings on your amp. If you have an EQ pedal, take the time to adjust it in different ways. You just might be surprised at how good of a sound you can actually get out of inexpensive gear.

    Replace the nut

    Inexpensive guitars almost always come with a plastic nut. While there’s nothing necessarily wrong with that, it’s a simple and cheap upgrade to switch it out with a better-quality nut. Graph Tech or bone nuts can be had for as little as $10, and swapping out the plastic one is a pretty straightforward affair requiring minimal ability and tools (I mean, even I can do it). And if you don’t feel comfortable doing it yourself, you can always take it to a guitar tech.

    I find that installing a synthetic or bone nut actually does affect the sound and playability of a guitar. To my ears, it opens up the way the guitar sounds (especially when playing open chords) because it increases the harmonics (at least that’s what I perceive). It also enhances the feel of the strings and the neck when I play. It just feels more solid and professional than a plastic nut.

    A video tutorial explaining how to install a guitar nut.

    Upgrade the tuners

    One of the cost-cutting measures overseas manufacturers engage in is using cheap tuners. While you can find cheap tuners that are just fine, sometimes they will have problems keeping the guitar in tune. They can also be difficult to adjust and hard to turn, which can make tuning and restringing not a ton of fun. And the last thing you want is to play a massive bend only to find your guitar wildly out of tune as a result.

    I’m not going to do the standard “guitar guy advice” thing and tell you that you need to put locking tuners on all your instruments. I do have locking tuners on one of my guitars, and they are nice, but there is a myth that they will help your guitar stay more in tune. This is 100 percent untrue. Any set of quality tuners will keep your guitar in tune. Locking tuners’ sole advantage is making string changes quicker and easier. They were first used in live settings because guitar techs needed a way to change out broken strings quickly during shows.

    By all means, get a set of locking tuners if you want, but the reality is installing a quality set of any kind of tuners will make you appreciate your inexpensive guitar all the more. The beauty of this mod is if you decide to sell the guitar later, you can take the quality tuners off and reinstall the factory ones, thus allowing you to swap them out on the next guitar you purchase.

    Change the pickups

    There’s just no getting around it: cheap guitars have cheap electronics. Again, this is not necessarily a problem. You may find a cheap set of pickups that you think sounds great. But it’s just as likely that the cheap pickups will not sound as good as a more expensive set.

    This upgrade option requires a bit more involvement and know-how, but if you’re handy and can read wiring diagrams, upgrading your cheap guitar’s factory pickups can be an amazing way to step up your guitar’s overall quality and sound. I struggle with soldering and reading diagrams, but even I have successfully swapped out electronic components in guitars. And if you really don’t want to mess with it, you can go to a site like Guitarfetish and pick up a complete replacement kit that requires no soldering at all (look for their Kwikplug line).

    Do a proper setup

    This is the number one thing you should do with any guitar you purchase, regardless of price. Doing a thorough setup on a new guitar can make a world of difference in playability. A setup involves adjusting neck relief, checking for uneven frets, raising or lowering the action, and dialing in the intonation, among other things. And while it may seem scary at first, you absolutely can learn the skills and knowledge needed to do the job yourself.

    I’ve seen amazing results by simply adjusting the truss rod and lowering the action on a guitar. The truth is, when it comes to playability, a good setup can make a bad guitar passable, a passable guitar good, and a good guitar great. It is worth the time, effort, and minimal investment to learn the skills and buy the tools to do this yourself.

    Setting up an electric guitar is not that hard, I promise.

    When it comes to inexpensive guitars, we are living in the golden era. No longer are they terrible playing or terrible sounding. A few hundred dollars can get you a “good enough” guitar. And doing the things I mentioned above can take that guitar and turn it into something special.

    What other tips do you have for making improvements to a guitar? Leave them in the comments, and thanks for reading!

  • That Time I Spent Entirely Too Much Time and Money Building a Crappy Guitar

    That Time I Spent Entirely Too Much Time and Money Building a Crappy Guitar

    I built a guitar from scratch once. It was terrible.

    The Backstory

    We were replacing our old dining room table, and I noticed that it was just about half the thickness of an electric guitar. I realized I could probably cut two blanks out of it, glue them together, and have a nice body blank to work with. So, rather than send it to the landfill, I decided to reuse it in a unique way: I’d build an electric guitar and call it the Tablecaster.

    I wasn’t entirely new to making guitars at that point. Several years prior to that, I’d started making cigar-box guitars. I’d never much worked with tools before, and I decided it was important for me to learn how to use basic tools. I stumbled across cigar-box guitars and decided to give them a try.

    An electric guitar hanging on a wall.
    The Tablecaster in all its glory.

    Although I would never claim that I’m especially handy or good with tools (more on that later), I did make over two dozen instruments and sold a number of them as well.

    We were replacing our old dining room table, and I realized I could probably cut two blanks out of it, glue them together, and have a nice body to work with.

    But cigar-box guitars, it turns out, are a far cry from a full-sized electric guitar.

    And so it was that I found myself in my garage one day with a guitar body blank and a vague sense of dread.

    The Obstacles

    Here’s the deal: I am self-taught in many areas. When I started making cigar-box instruments, I knew nothing about anything. Neither had I ever met anyone who built any kind of instrument. I had to figure it out as I went. So when I started on a full-size guitar, I was right back to square one.

    And so it was that I found myself in my garage one day with a guitar body blank and a vague sense of dread.

    I sketched out a few drawings and had some ideas about the finished product, but the process more closely resembled treading water while the Titanic sank. From the get-go, the build was a series of problems to overcome, some of which seemed insurmountable.

    I had never met anyone who had built any kind of instrument. I had to figure it out as I went.

    The first, and biggest, issue was my bandsaw. It was a cheap Harbor Freight model and I probably didn’t have it set up right (self-taught, remember). The upshot was the saw would not (and still does not) cut a straight line — it ran all over the place. This made cutting the body to shape extremely difficult. But I somehow got it done.

    Drilling out material from a guitar body blank.
    My solution for relieving weight.

    The next issue was weight. The table body was massively too heavy, so I used my drill press and a 1” bit to hog out most of the inside to make it a semi-hollow instead of a solid body. That meant I needed a cap, which I had to glue up, all the while half-guessing how to do it the “right” way.

    I sketched out a few drawings and had some ideas about the finished product, but the process more closely resembled treading water while the Titanic sank.

    Routing out the neck slot was the next challenge because I was not experienced with a router (or how terrifying they are!) and precision was the name of the game. It took a long time and a lot of walking away in frustration before that task was done.

    The neck had its own challenges. I actually was doing a halfway decent job at first. I figured out how to route out a straight line for the truss rod and got that installed. But I made a few big mistakes. First, the headstock ended up being too small — the tuners barely fit. More importantly, because of my lousy bandsaw, I cut one side of the neck too narrow, which meant the high E string was too close to the edge of the fretboard.

    There were a number of times when I honestly thought there was no way I could finish it. The problems were too big and I wasn’t skilled enough.

    Finishing the guitar presented even more challenges. Although I used center lines, my pickups were slightly off-center. And I used a bone nut that I poorly shaped, resulting in a guitar with too-high action that was hard to play. I don’t even want to talk about the electronics, but suffice it to say I eventually got them working.

    Close-up picture of a guitar headstock and neck being built.
    Installing the truss rod.

    The Results

    At the end of the build, I was rewarded with a costly, time-consuming guitar that could actually make sound through an amplifier (yay!) but certainly wasn’t up to even the most basic level of quality. From that perspective, the whole thing was kind of a flop. It wasn’t going to be my main guitar like I had hoped. It mainly looked good on the wall, if you kept your distance (and maybe didn’t have your glasses on).

    At the end of the build, I was rewarded with a costly, time-consuming guitar that could actually play but certainly wasn’t up to even the most basic level of quality.

    So yeah, as a guitar, it stunk. But I’d like to think the project was a success in many other ways.

    First, in the middle of making the guitar, there were a number of times when I honestly thought there was no way I could finish it. The problems were too big and I wasn’t skilled enough. Yet I did finish. I had objective evidence that I could do hard things. This knowledge has served me very well over the ensuing years.

    A guitar body in work.
    The cap. Hey, at least I picked cool-looking wood!

    Second, I learned a ton about tools and guitar-making. If I were to make another guitar completely from scratch (which I would like to do at some point), it would probably end up much better than the first one. And if I committed to making a number of them, I have no doubt there would come a point where I was making passable instruments.

    So yeah, the guitar stunk. But it was a success in many other ways.

    (I have since made a guitar using a factory-made neck and put together a few kit guitars. They’ve turned out decently.)

    Third, it helped with my ability to make basic repairs. I set up all of my own guitars, and I even just swapped out a plastic nut and saddle for bone on one of my acoustic guitars. I can level frets, adjust truss rods, and lower or raise the action without having to pay a guitar tech to do it. I can even do some basic electronics work if I must.

    Fourth, I appreciate good craftsmanship so much more now. I stand amazed when I come across any guitar that is well made. Craftspeople like luthiers often do not get enough credit for how amazing they are and the work they do.

    I can now perform basic repairs and set up my own guitars. I can level frets, adjust truss rods, swap out nuts, and lower or raise the action without having to pay a guitar tech to do it.

    In the end, whenever I look at my handmade guitar hanging in the closet, I have a mix of feelings. The honest truth is the guitar is just not very good. But I am proud of the fact that I did as good of a job as I did while basically going in blind with not a ton of natural talent to work with.

    And as driven as I am in my life to produce results, the guitar serves as a constant reminder that I can’t always control the outcome, and I can’t always guarantee perfect work. But I can keep moving forward in spite of obstacles and always give every endeavor my best effort. If nothing else, having a tangible reminder like this was worth the battle, even if I didn’t accomplish exactly what I set out to do.

  • Five Tips to Get a Better Tone out of Your Electric Guitar

    Five Tips to Get a Better Tone out of Your Electric Guitar

    Guitarists are tone chasers.

    I suppose we can’t help it. After all, it’s very likely that for most of us, the sound of the instrument was a significant part of what drew us to the instrument in the first place. Whether it was the raunchy tones of Stevie Ray Vaughan or the infamous Eddie Van Halen “brown sound,” something we heard clicked with us and is at the heart of driving us forward.

    And so for many of us, that means dialing in a sound we are happy with. But it’s not an easy task.

    Finding the perfect tone is a never-ending journey

    It is exceptionally difficult to find the perfect tone, and I dare say it’s impossible. That’s especially true for those of us who are primarily bedroom players. It’s undoubtedly much easier to dial in a kick-ass tone when you’ve got a producer or a professional sound guy to help and the best in gear at your fingertips. That’s not to say a guy like The Edge doesn’t still work hard on his guitar sound (he probably does), but he has more tools at his disposal than a no-name hobbyist like me.

    Not that the impossibility of the quest stops us — far from it! And I personally am still a long way from finding my own ideal tone. But in the spirit of improvement, I want to give you a few tone tips I’ve learned along the way that can at least help you take a few steps down the path toward the perfect tone.

    1. Use the volume and tone knobs on your guitar

    Those knobs on your guitar aren’t just for show — you can actually use them! It took me way too long to start adjusting the guitar’s controls instead of just leaving them all set to 10.

    Those knobs on your guitar aren’t just for show — you can actually use them!

    The volume knob, besides just adjusting loudness, can help with tone. You can actually reduce or enhance the amount of distortion in your signal, for instance, just by rolling off or turning up the guitar’s volume. I like to keep my volume set to around 8 for most playing, which then gives me a little extra room to go up or down when I need to.

    The tone knob can also be your friend. Again, I use somewhere around 6 or 7 as “home base” and then start to experiment from there. As you roll the knob toward 10, you will bring in more highs, while turning it toward 0 will darken the sound. Different tone knobs produce different results, but the change can be dramatic — and you just might find a sound you like.

    2. Don’t scoop the mids

    This is guitar newbie 101: turning down the mids on your little practice amp while maxing out the bass and treble. Why do we all do this? Because it sounds good in your bedroom.

    But when you graduate to playing in front of people, scooping the mids doesn’t make the transition well. This is because the electric guitar is actually a mid-range instrument. Its sound profile generally sits between the bass and the keyboard.

    Set the middle tone knob on your amp a little higher than your bass and treble controls, and see what happens.

    So if you want to enhance your tone, a great way to do it is to accentuate the mids instead. Set the middle tone knob on your amp a little higher than your bass and treble controls, and see what happens. Especially as you turn the amp up louder, this one trick could help you develop a more pleasing sound.

    3. Try switching from 9s to 10s

    Here’s a good trick I discovered that works well when you’re just starting out and still (probably) using cheap gear. I had a very cheap setup at one point — a low-end Epiphone and a small Behringer amp — and this actually worked like a charm.

    I simply switched from using nine-gauge strings to using 10-gauge strings.

    I’ve noticed this doesn’t provide as drastic results on better gear, but I believe it works because a higher-gauge string means there is physically more metal interacting with the pickup’s magnetic field. For cheap pickups, it seems to make a big difference.

    For cheap pickups, using a higher-gauge set of strings seems to make a big difference.

    In any case, my tone noticeably improved just by moving up to 10s.

    4. Switch to a tube amp

    I played on a solid-state amp for over 20 years and always wondered why people said a tube amp was better.

    And then I bought a tube amp.

    Wow, what a difference! The range of tones available in my tube amp was much greater than my solid state. And for my style of playing (rock and blues), it worked much better for my needs.

    The range of tones available in my tube amp was much greater than my solid state. And for my style of playing (rock and blues), it worked much better for my needs.

    In particular, the advantage of tube amps, besides having a more well-rounded sound in general IMHO, is that you can set your “clean” sound to just before the amp begins to break up (i.e., sound distorted) — something a solid-state amp can’t do. (They generally have separate clean and dirty channels.) This gives the guitar a nice, rich tone, with just a little bit of dirt if you start strumming a little harder. And if you dial back a little using your guitar’s volume knob, you’ve instantly got a great clean tone.

    That’s not to say that there aren’t great solid-state amps out there, and depending on the genre of music you play, a solid-state amp may be the better choice, but personal experience has shown me how much a tube amp can impact your guitar’s tone.

    5. Practice, practice, practice

    At the end of the day, your unique tone comes from your fingers. Yes, amps and strings definitely contribute, and you can see great improvements with some simple setting adjustments, but the foundation of your sound is you.

    Simply put, the more you practice and play, the more you will develop your own, unique tone.

    The foundation of your sound is you.

    I could pick up your exact rig set to your exact specifications, and I would not sound like you. And likewise, you could pick up my guitar and play into my amp and not sound like me. There is just too much variation in the way we each approach the instrument: how hard we pick, how much vibrato we add, how we mute strings, and the list goes on.

    But that’s the wonderful thing about playing guitar — we each have something unique to bring. We all have the freedom to develop our own sound, a sound unlike anyone else in the world.

    Hopefully, these tips will help you dial in your unique sound. What other tone tips can you share with us? I’d love to hear them — so let us know in the comments!