
And that text, my friends, is why you need an EQ pedal.
Let’s rewind.
My live tone problem
The last show I played with my band, my guitar sounded way too muddy for my liking.
Weirdly, I had dialed in what I thought was a good sound during our practice sessions. But when I got to the venue? No dice.
Every room, building, and venue will have its own distinct acoustics that will change your sound in idiosyncratic ways.
Something about the place was accentuating bass frequencies — whether it was the placement of my amp, the stage’s resonance, the house mix, or the room itself, I couldn’t say. But even with the bass dial on my Marshall turned all the way down, it still sounded woofy.

As it turns out, this is normal — every room, building, and venue will have its own distinct acoustics that will change your sound in idiosyncratic ways.
In this case, I simply wasn’t able to eliminate low frequencies with my amp’s control panel. So now what? How was I supposed to turn the bass down past zero?
And that’s when it hit me: I needed an EQ pedal. But as I found out, an EQ pedal can do so much more.
What is an EQ pedal, exactly?
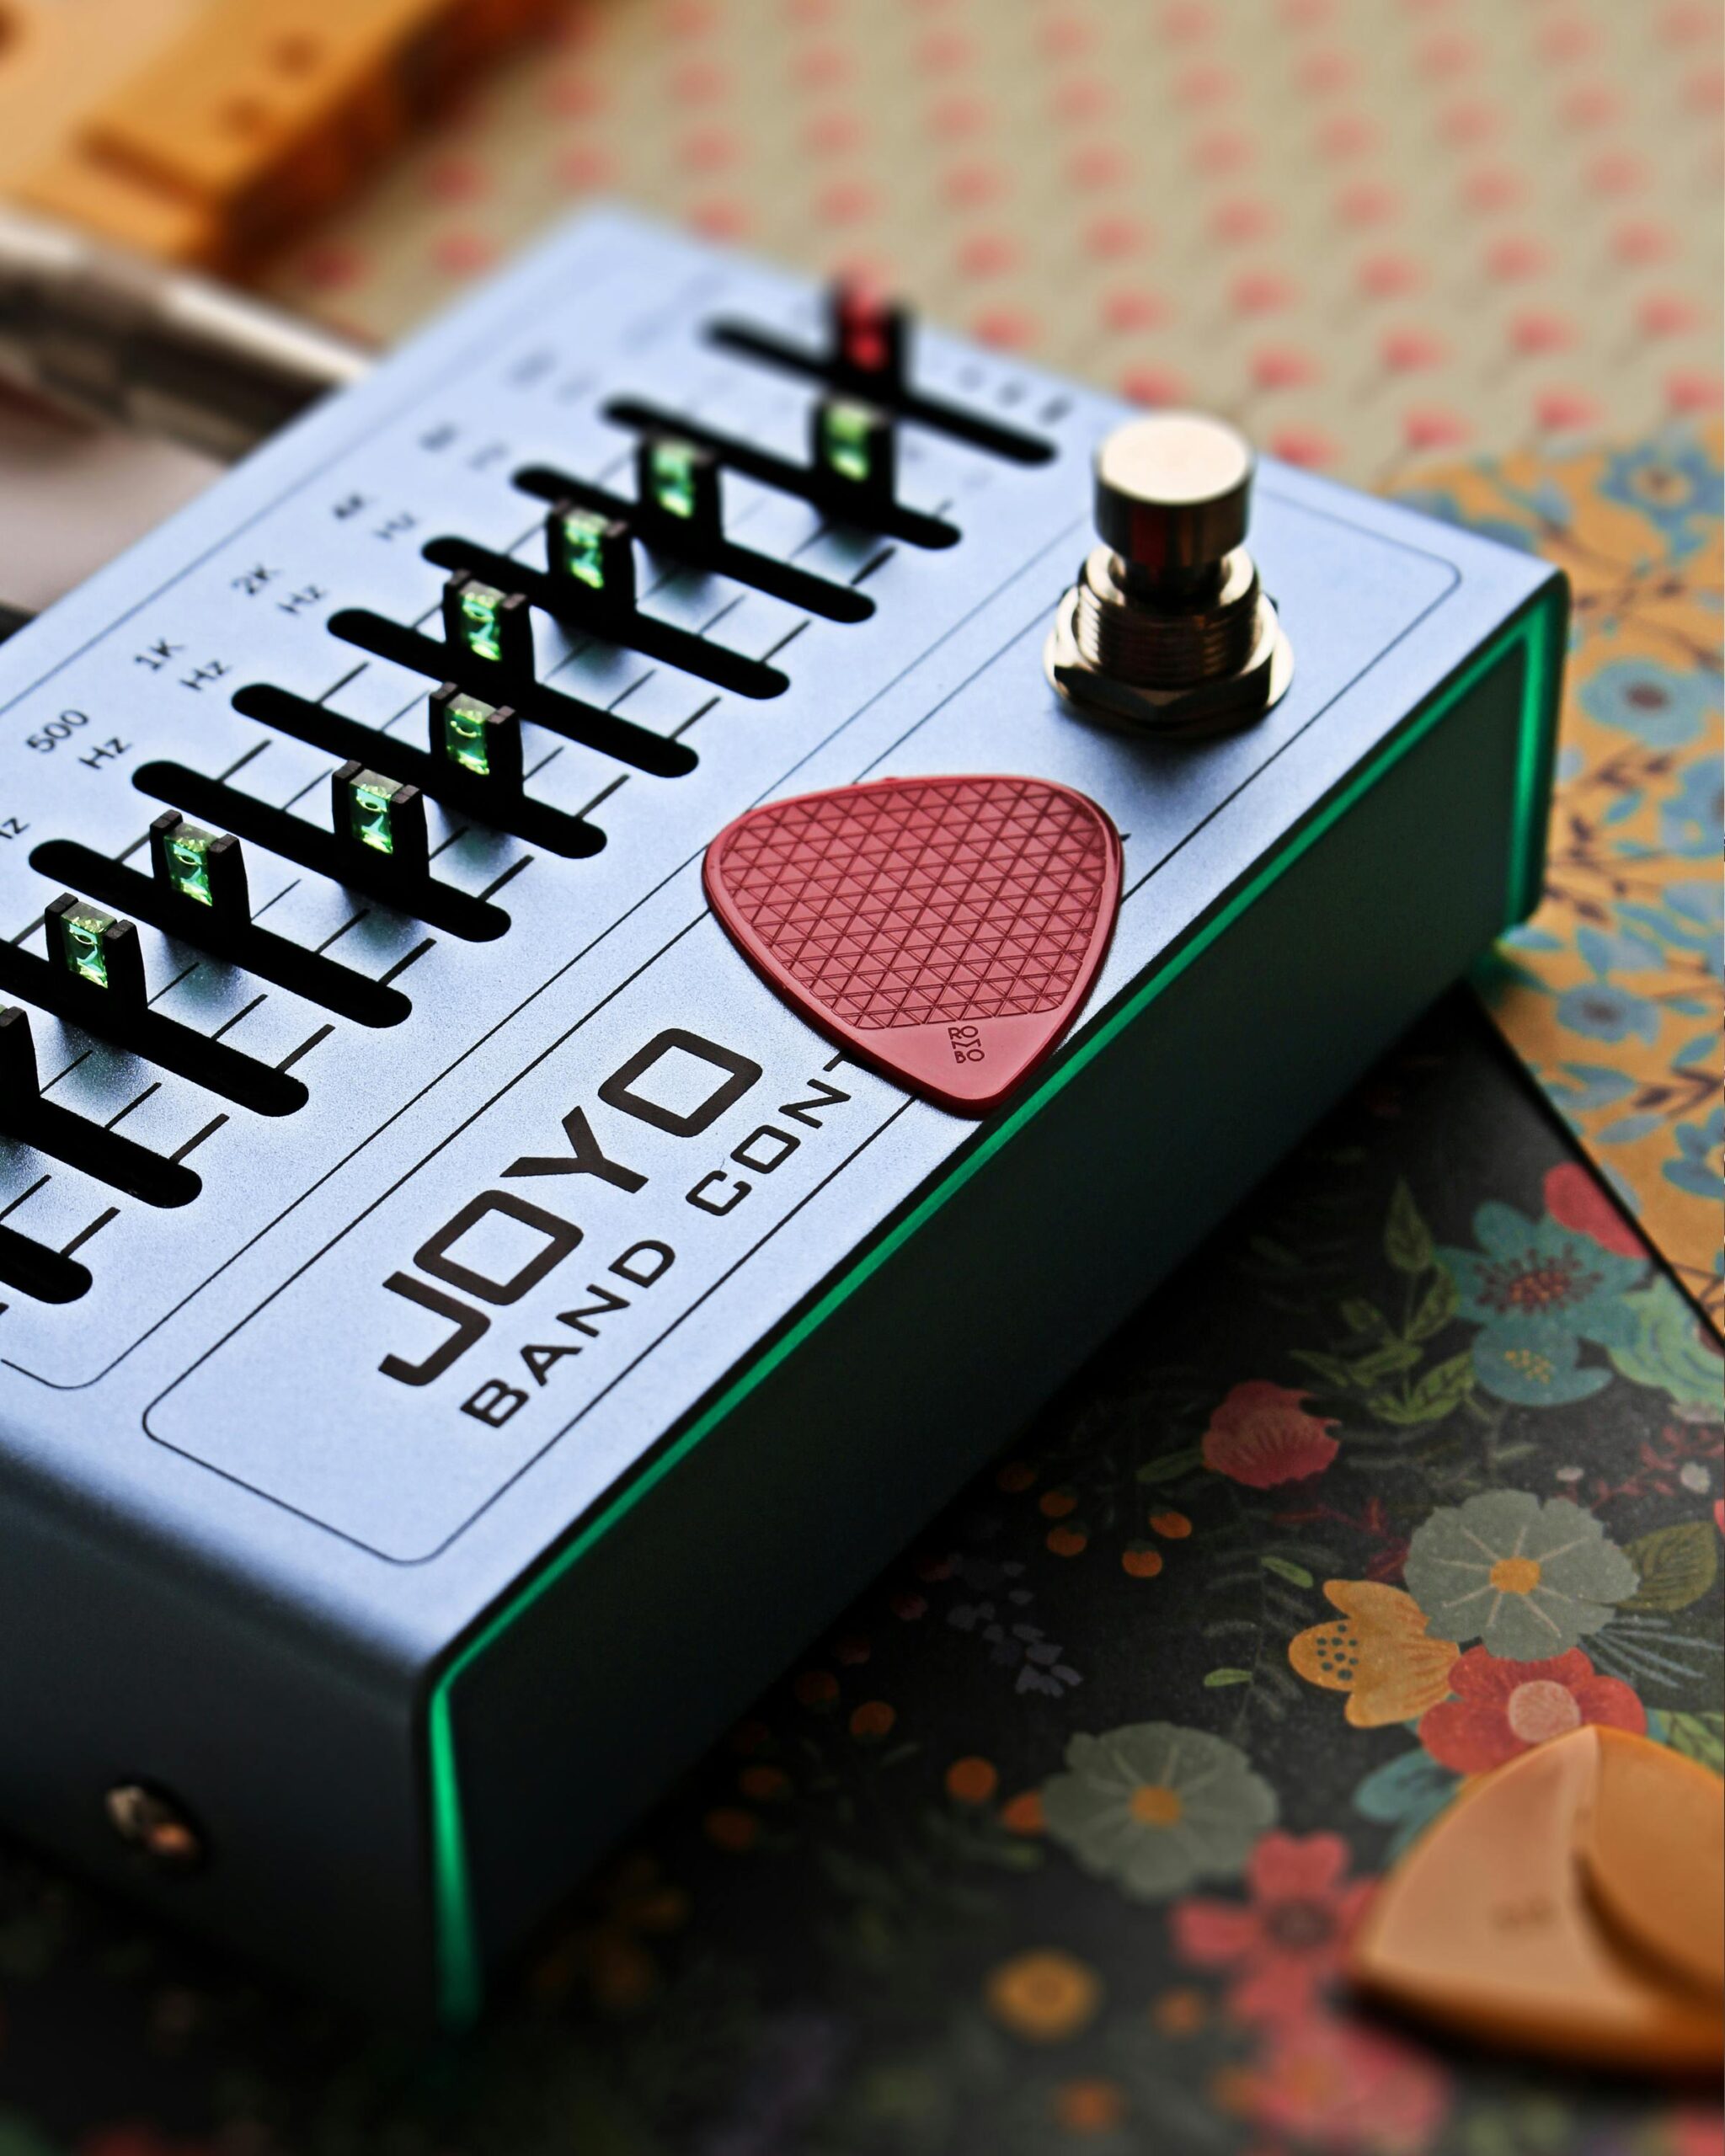
An EQ pedal is essentially a filter allowing you to independently boost or cut a wide range of frequencies in your guitar signal — to a much greater degree than your amp.
Every brand will be slightly different, but in general, most EQ pedals have between six and 10 frequency bands. These bands are usually controlled by sliders that allow you to quickly isolate and adjust a specific frequency. You can cut each out entirely, send it through the ceiling, or do anything in between.
Different EQ pedals allow you to control different frequencies, as well, but most are going to have sliders for a selection between 100 and 5K Hertz (Hz).
An EQ pedal is essentially a filter allowing you to independently boost or cut a wide range of frequencies in your guitar signal — to a much greater degree than your amp.
The lowest frequencies (below 250 Hz) provide depth and warmth to your guitar’s sound but can also cause muddiness (my stage problem).
Mid frequencies (250–4K Hz) are where the main portion of your guitar’s sound sits, which should be no surprise since the guitar is a mid-range instrument. But overdoing things here can give you a boxy sound.
High frequencies (above 4K Hz) enhance clarity and brightness, but too much emphasis on these frequencies results in a sharp, piercing tone.
Some EQ pedals will also come with a volume slider. This is because—for scientific reasons that I don’t understand—when you adjust frequencies up or down, the volume level also changes. If you cut a few troublesome frequencies, for example, you’ll notice your guitar is no longer quite as loud.
How to dial in an EQ pedal
The short answer is “use your ears.”
Seriously, I watched a ton of tutorial videos and did a lot of research, and there is no “right” answer. It 100 percent depends on what you’re looking to achieve with it.
For example, if you have a guitar with humbuckers and want to make it sound closer to single-coil pickups, you can set up your EQ pedal to do that (tutorial here).
If you like your distorted signal but it sounds a bit too harsh, you can dial back the frequencies between 1K and 3K Hz.
If you want your guitar to have a lo-fi radio sound, you can boost the middle sliders and lower the rest.
Generally speaking, cutting 400 Hz and boosting 800 Hz will both positively affect your sound.
The possibilities really are endless, but there are some general rules that can help.
Placement matters. If you want to change your tone, consider placing it at the beginning of your signal chain. If you want to keep your tone but just sculpt or shape it, add it at the end of your FX loop.
Don’t be afraid to experiment. Take each slider down to 0 and up to 100. Crank the lows and cut the highs, or vice versa. See how a 25% cut compares to an equal boost. Mix and match. The best way to learn how any pedal works is to try things and listen.
Cut first, then boost. If you don’t like your sound, try reducing certain frequencies before boosting anything. Sometimes the solution is as simple as removing a few unwanted frequencies.
Use the 400–800 rule. Generally speaking, cutting 400 Hz and boosting 800 Hz will both positively affect your sound.
Let YouTube be your guide. Seriously, there are so many quality tutorial videos that will get you started (I like this one and this one).
The small yet significant result
Using what I’d learned, I started messing around with the new EQ pedal I’d just bought (this one, if you’re curious). I decided to make it the last pedal in my FX loop because I wanted to shape the overall sound coming out of the amp, not fundamentally alter it.
First, I tried about every setting I could think of just to see what each sounded like. What if I cut all the lows? What if I raised the mids? What if I made a smiley face? A frowny face?
The result was slight yet significant. It was the same tone, just better. Tighter. More “professional” sounding.
But each of these trials affected the sound too much. I wanted a light touch.
I found that for my setup, it was as simple as boosting 800 Hz to about 75 percent and cutting 400 Hz to about 40 percent. I slightly cut the remaining low and high frequencies.
The result was slight yet significant. It was the same tone, just better. Tighter. More “professional” sounding to my ears.
I tested out my newfound pedal and setting at church a few weeks back. The text message from the beginning of this article? That was from my worship director after the service. She had no idea I’d used an EQ pedal — a perfect blind test.
And now I can’t wait to go back to the “bassy” venue with my band and see how well it fixes my low-end problem.
Going from 99% to 100%
In my last article, I said that upgrading to a Gibson SG and Marshall tube amp took my tone from 95 percent of where I wanted it to be to 100 percent.
I lied.
I now realize it only took my tone to 99 percent. Adding an EQ pedal to the end of my FX loop added that last percent. I’ve now got a tighter, cleaner sound — and people can tell something is different.
So does that mean you should run out and buy an EQ pedal? I have played for decades without one and lived to tell the tale, so no, I don’t believe they are necessary.
But if, like me, you’re looking to gain an edge and get yourself closer to a desired tone, I’d absolutely invest in one. It might just surprise you how much it helps.