Tag: learning

  • Five Tips to Get a Better Tone out of Your Electric Guitar

    Five Tips to Get a Better Tone out of Your Electric Guitar

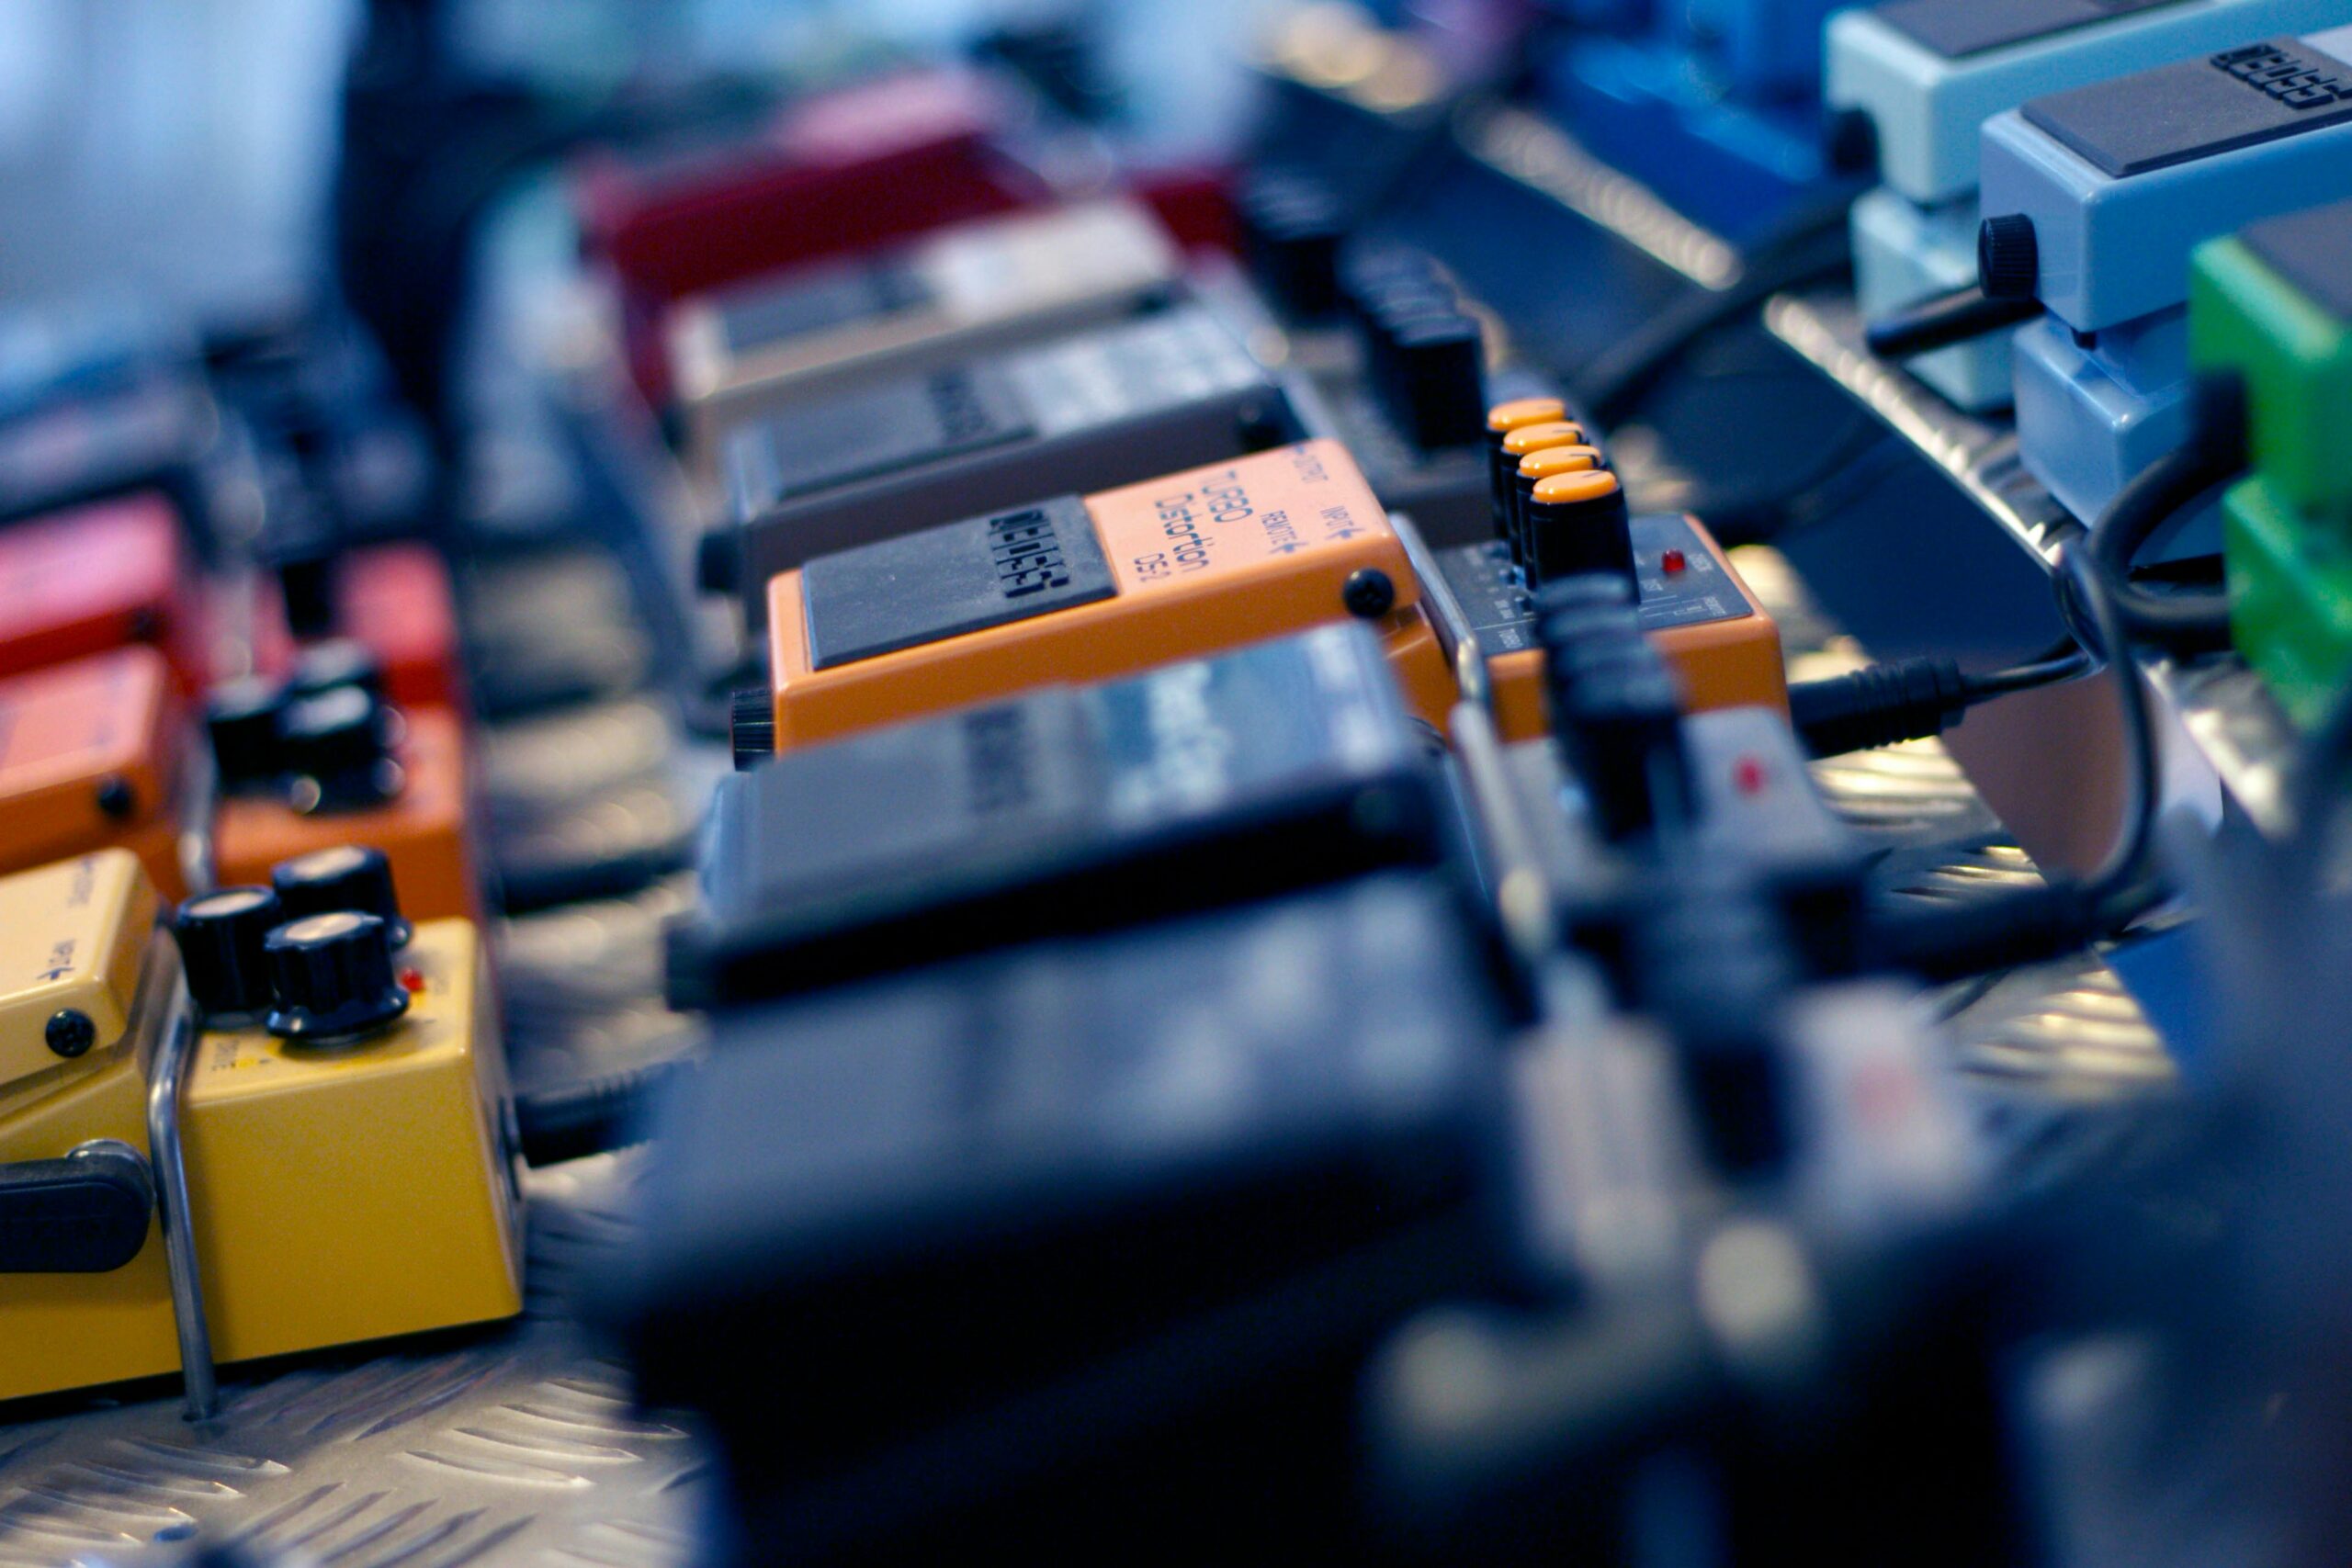
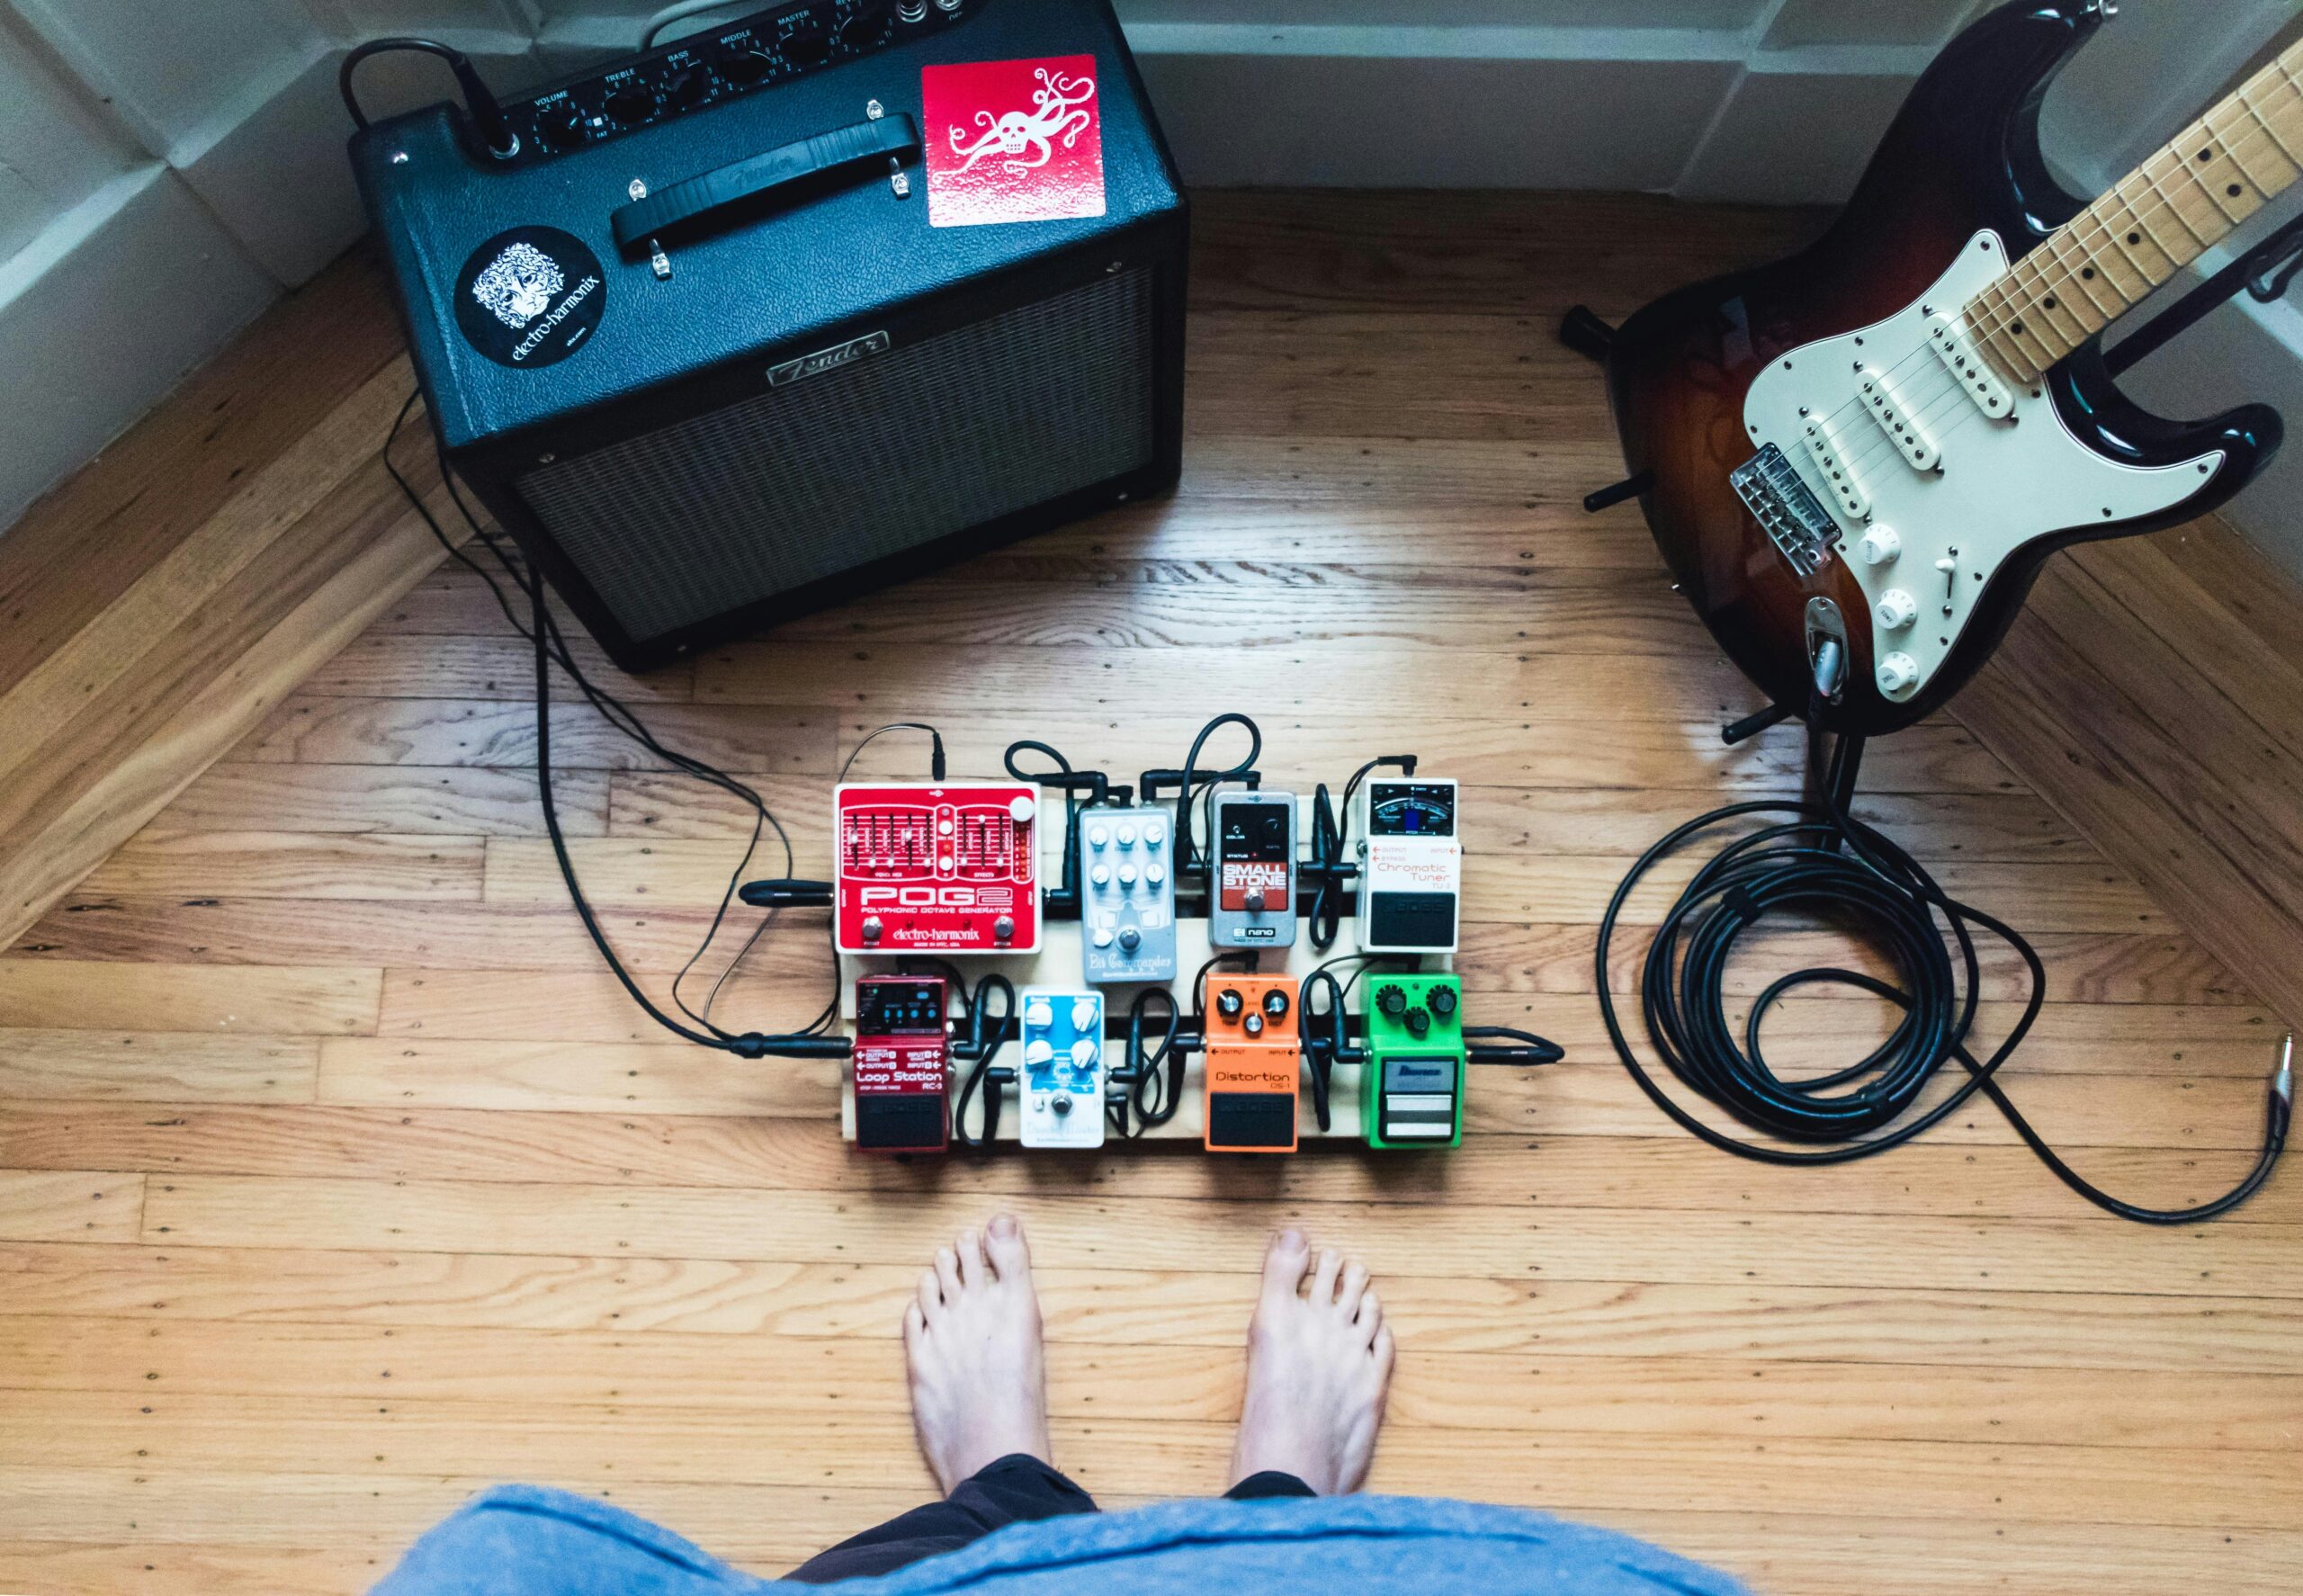
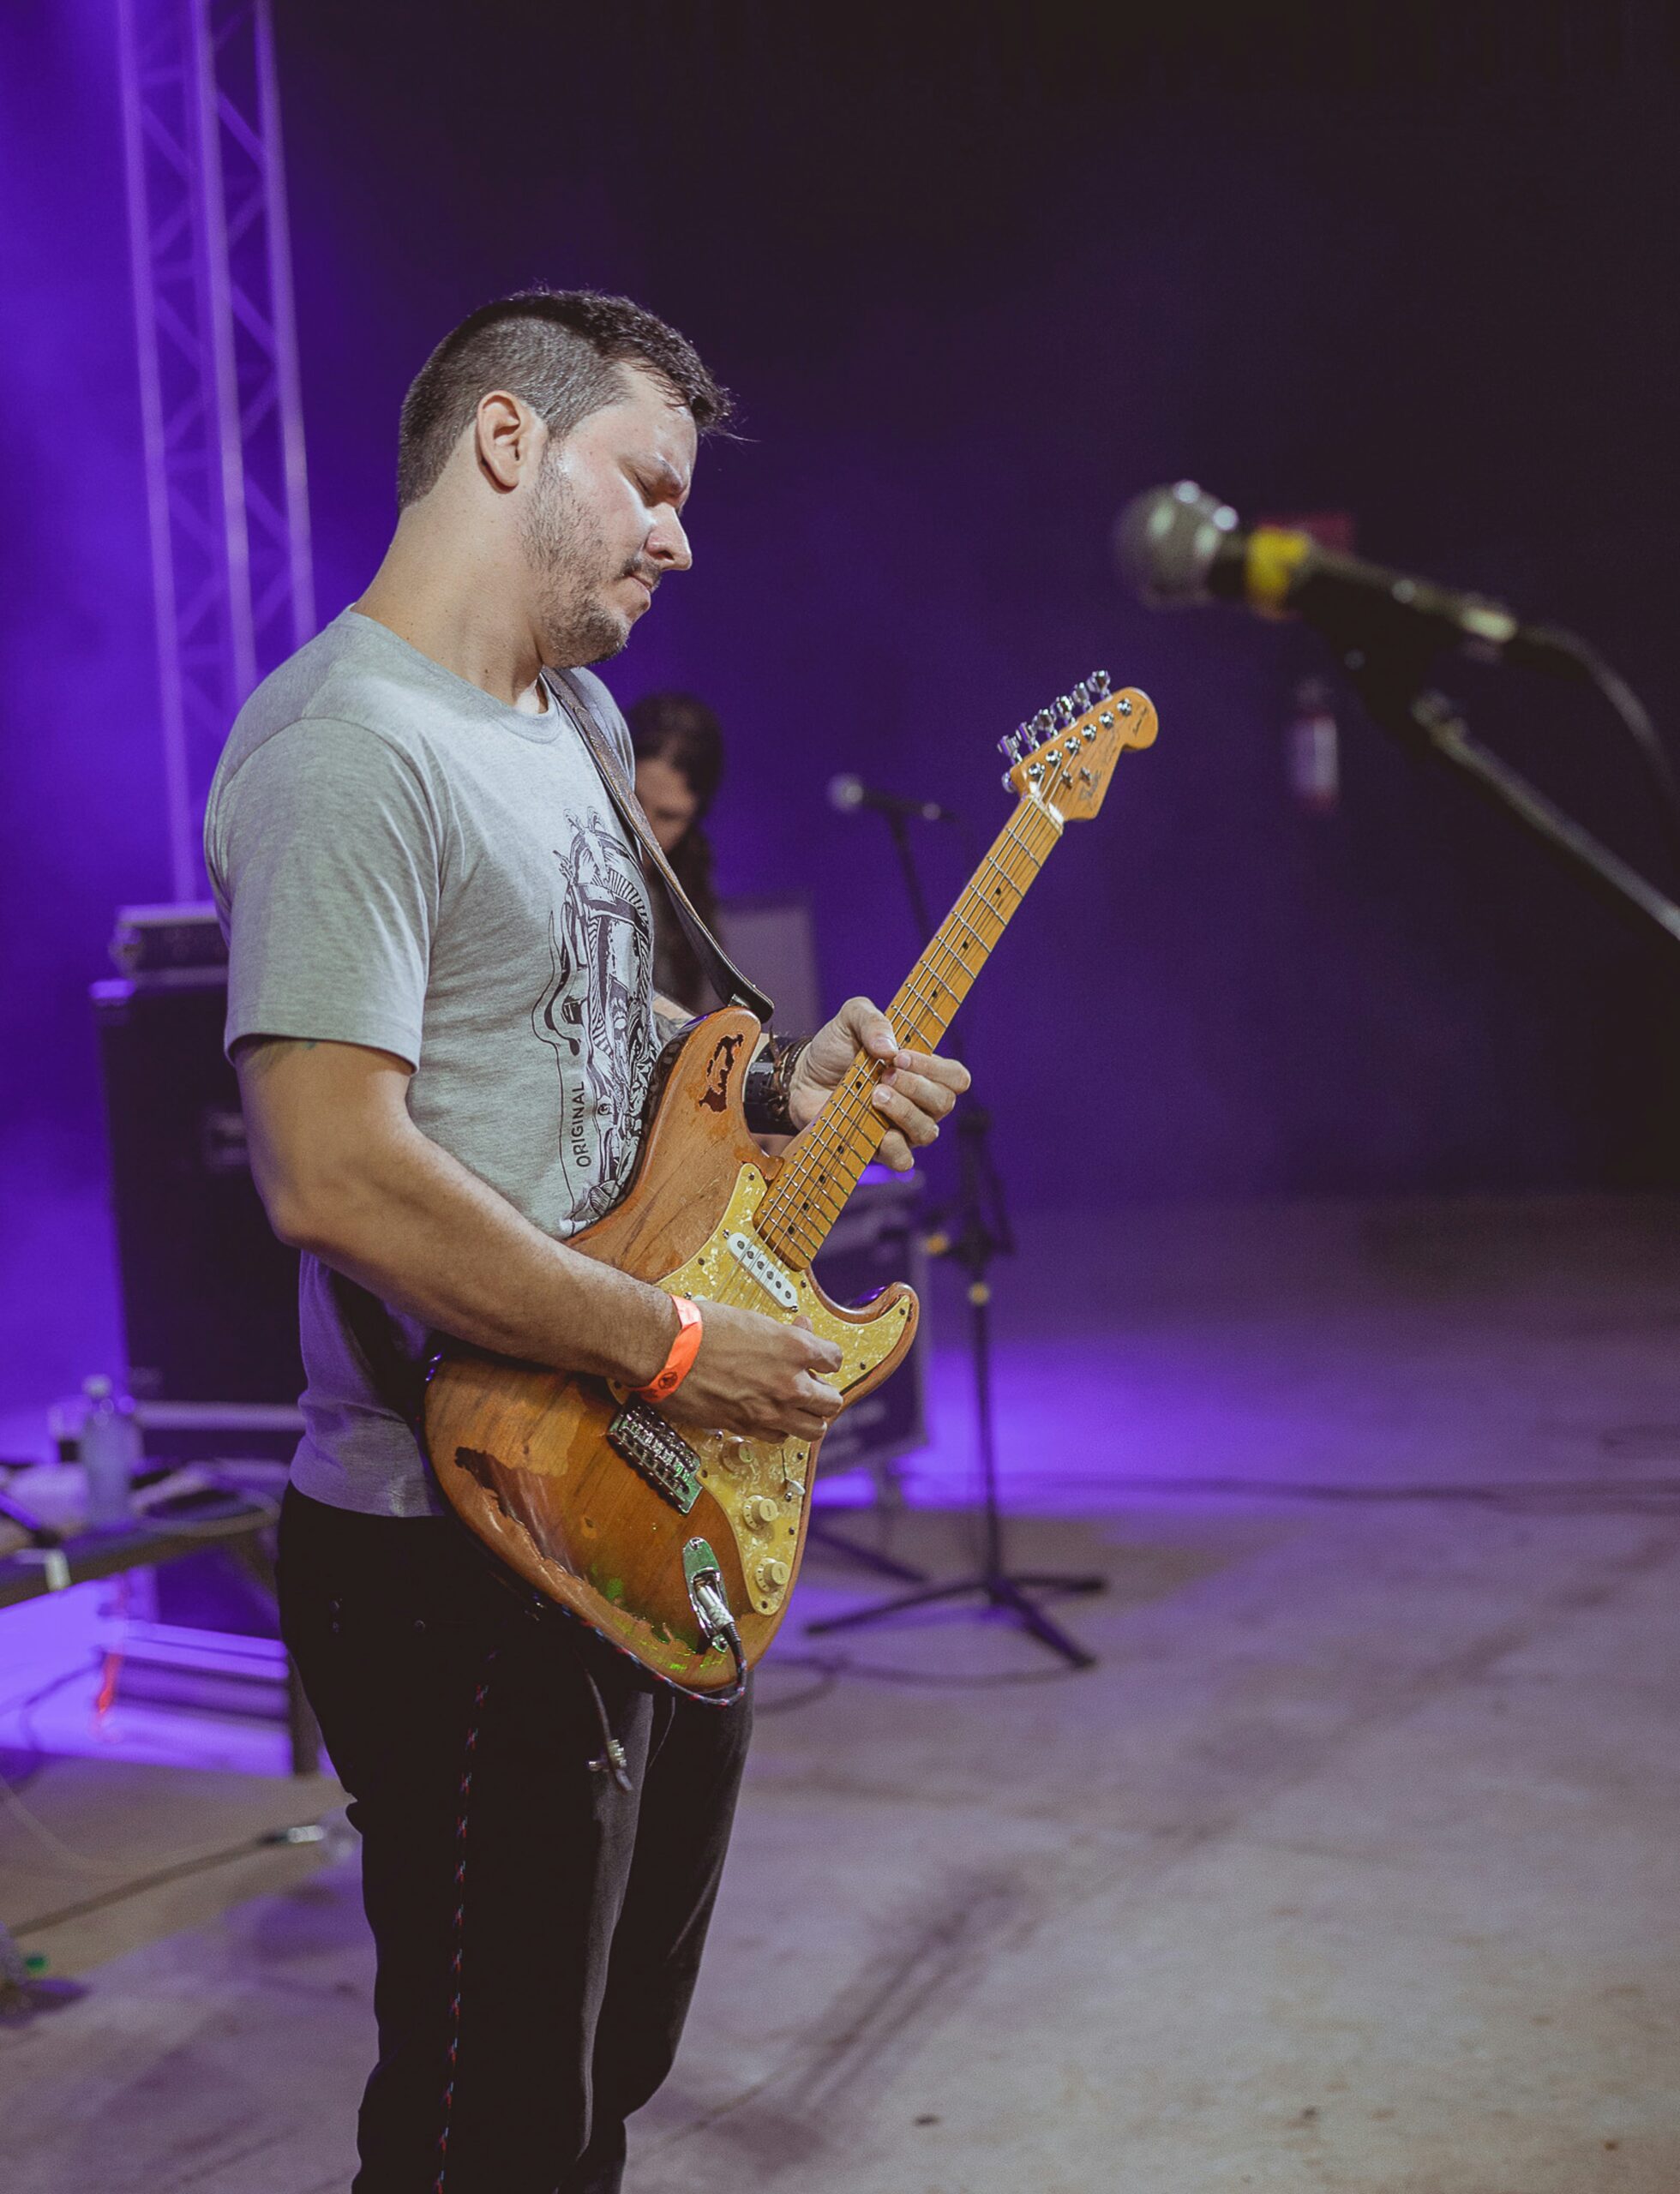
    Guitarists are tone chasers.

    I suppose we can’t help it. After all, it’s very likely that for most of us, the sound of the instrument was a significant part of what drew us to the instrument in the first place. Whether it was the raunchy tones of Stevie Ray Vaughan or the infamous Eddie Van Halen “brown sound,” something we heard clicked with us and is at the heart of driving us forward.

    And so for many of us, that means dialing in a sound we are happy with. But it’s not an easy task.

    Finding the perfect tone is a never-ending journey

    It is exceptionally difficult to find the perfect tone, and I dare say it’s impossible. That’s especially true for those of us who are primarily bedroom players. It’s undoubtedly much easier to dial in a kick-ass tone when you’ve got a producer or a professional sound guy to help and the best in gear at your fingertips. That’s not to say a guy like The Edge doesn’t still work hard on his guitar sound (he probably does), but he has more tools at his disposal than a no-name hobbyist like me.

    Not that the impossibility of the quest stops us — far from it! And I personally am still a long way from finding my own ideal tone. But in the spirit of improvement, I want to give you a few tone tips I’ve learned along the way that can at least help you take a few steps down the path toward the perfect tone.

    1. Use the volume and tone knobs on your guitar

    Those knobs on your guitar aren’t just for show — you can actually use them! It took me way too long to start adjusting the guitar’s controls instead of just leaving them all set to 10.

    Those knobs on your guitar aren’t just for show — you can actually use them!

    The volume knob, besides just adjusting loudness, can help with tone. You can actually reduce or enhance the amount of distortion in your signal, for instance, just by rolling off or turning up the guitar’s volume. I like to keep my volume set to around 8 for most playing, which then gives me a little extra room to go up or down when I need to.

    The tone knob can also be your friend. Again, I use somewhere around 6 or 7 as “home base” and then start to experiment from there. As you roll the knob toward 10, you will bring in more highs, while turning it toward 0 will darken the sound. Different tone knobs produce different results, but the change can be dramatic — and you just might find a sound you like.

    2. Don’t scoop the mids

    This is guitar newbie 101: turning down the mids on your little practice amp while maxing out the bass and treble. Why do we all do this? Because it sounds good in your bedroom.

    But when you graduate to playing in front of people, scooping the mids doesn’t make the transition well. This is because the electric guitar is actually a mid-range instrument. Its sound profile generally sits between the bass and the keyboard.

    Set the middle tone knob on your amp a little higher than your bass and treble controls, and see what happens.

    So if you want to enhance your tone, a great way to do it is to accentuate the mids instead. Set the middle tone knob on your amp a little higher than your bass and treble controls, and see what happens. Especially as you turn the amp up louder, this one trick could help you develop a more pleasing sound.

    3. Try switching from 9s to 10s

    Here’s a good trick I discovered that works well when you’re just starting out and still (probably) using cheap gear. I had a very cheap setup at one point — a low-end Epiphone and a small Behringer amp — and this actually worked like a charm.

    I simply switched from using nine-gauge strings to using 10-gauge strings.

    I’ve noticed this doesn’t provide as drastic results on better gear, but I believe it works because a higher-gauge string means there is physically more metal interacting with the pickup’s magnetic field. For cheap pickups, it seems to make a big difference.

    For cheap pickups, using a higher-gauge set of strings seems to make a big difference.

    In any case, my tone noticeably improved just by moving up to 10s.

    4. Switch to a tube amp

    I played on a solid-state amp for over 20 years and always wondered why people said a tube amp was better.

    And then I bought a tube amp.

    Wow, what a difference! The range of tones available in my tube amp was much greater than my solid state. And for my style of playing (rock and blues), it worked much better for my needs.

    The range of tones available in my tube amp was much greater than my solid state. And for my style of playing (rock and blues), it worked much better for my needs.

    In particular, the advantage of tube amps, besides having a more well-rounded sound in general IMHO, is that you can set your “clean” sound to just before the amp begins to break up (i.e., sound distorted) — something a solid-state amp can’t do. (They generally have separate clean and dirty channels.) This gives the guitar a nice, rich tone, with just a little bit of dirt if you start strumming a little harder. And if you dial back a little using your guitar’s volume knob, you’ve instantly got a great clean tone.

    That’s not to say that there aren’t great solid-state amps out there, and depending on the genre of music you play, a solid-state amp may be the better choice, but personal experience has shown me how much a tube amp can impact your guitar’s tone.

    5. Practice, practice, practice

    At the end of the day, your unique tone comes from your fingers. Yes, amps and strings definitely contribute, and you can see great improvements with some simple setting adjustments, but the foundation of your sound is you.

    Simply put, the more you practice and play, the more you will develop your own, unique tone.

    The foundation of your sound is you.

    I could pick up your exact rig set to your exact specifications, and I would not sound like you. And likewise, you could pick up my guitar and play into my amp and not sound like me. There is just too much variation in the way we each approach the instrument: how hard we pick, how much vibrato we add, how we mute strings, and the list goes on.

    But that’s the wonderful thing about playing guitar — we each have something unique to bring. We all have the freedom to develop our own sound, a sound unlike anyone else in the world.

    Hopefully, these tips will help you dial in your unique sound. What other tone tips can you share with us? I’d love to hear them — so let us know in the comments!

  • How to Use a Compression Pedal — and Why You Might Want To

    How to Use a Compression Pedal — and Why You Might Want To

    The first rule of Guitar Club is there are no rules.

    Okay, that might be a bit melodramatic, but there is an element of truth to it. When you play an instrument like the electric guitar, there is a bit of rebellion and innovation baked in.

    Rebellion and innovation don’t preclude a good foundation — they require one

    Yes, there are “rules” to follow, but often they are more like guidelines. And that’s the beauty of the guitar, and rock music in general: you can try anything.

    That being said, it takes a special person to start with nothing and make something magical. Most of us have to have a baseline understanding of things like music theory, how the neck is laid out, and how pedals and amps work before we try to get our inner Eddie Van Halen on.

    So today that I want to help you understand — without being dogmatic about it — how a compressor pedal works, why you may want one, and how to use it.

    The mystery of compression demystified

    I don’t know about you, but I’ve always thought that compressor pedals were a bit mysterious. They “compress” the sound — okay, what does that really mean? And why do so many people use them?

    But rather than go into a technical, “sciencey” explanation, it’s much easier to think of it as if there were a very tiny person living inside of your compression pedal. This little guy — let’s call him Carl — is pretty finicky about music. He doesn’t like things too loud (it gives him a headache) or too soft (he’s had some hearing loss over the years). Thankfully, Carl is sitting next to a big volume knob.

    Whenever you play your guitar, Carl listens. If you play a little too loud, Carl reaches up and turns the volume down. And if you play a little too soft, he turns the volume up.

    This is essentially what a compressor pedal does. It evens out the dynamics, or volume, of your playing.

    What can I do with a compression pedal?

    A compression pedal can help you out in a couple of different ways. For one, it can add a little bit of a “professional” feel to your playing if, like me, you occasionally mess up and play a string or chord a bit too loudly (or softly). Or it can boost your clean tone to help you stand out in the mix without having to crank your amp. (But let’s be honest, who among us has ever been concerned we were playing too loud?)

    It can also help to add sustain to lead guitar parts. Since compression pedals adjust volume, it makes sense that they can increase sustain by dialing up the volume of a note as it begins to die, thus prolonging the sound to our ears.

    This kind of pedal can also help ramp up your high end, which means you can use one to give you a more funky or country-western tone.

    How do I dial in a compression pedal?

    Most compression pedals have the same or similar controls.

    The Attack dial focuses on the start of the notes you play. The more you turn this knob up, the more you will hear the pluck of the strings.

    The Sustain or Release dial is going to control the end of the notes you play. This is the dial to crank if you want that epic bend to ring out long enough for you to go have a bite to eat.

    The Level knob, as is the case with most pedals, just controls the overall volume of the pedal. Usually, you would want to find the setting that matches the same volume as when the pedal is off.

    It’s hard to say how you ought to set the dials on your pedal because there are too many variables to consider. You have a different guitar than I do, with different pickups, playing into a different signal chain and amp. You also no doubt have different sonic preferences than I do.

    Your best bet is to just set all the dials at noon and adjust them one by one, using the guidance above, until you get something you are happy with. And if you’re looking for a specific sound or effect, it’s very likely there’s a YouTube video dedicated to your exact scenario.

    Where should I put the pedal in my signal chain?

    Signal chains (i.e., what order you put your pedals in on your pedal board) are great fodder for internet arguments, and experimentation is usually encouraged. Generally speaking, however, the compressor is going to be among the first pedal in your chain — before overdrives, delays, or reverbs. On my pedal board, it’s first in line.

    You don’t usually want to compress effects, because it can change the sound in ways you may not like. But then again, you might find a combination that gives you a unique sound you love!

    Do I need a compression pedal to sound good?

    In the end, I’ve played plenty with a compression pedal and plenty without one. I think it made the biggest difference in sound when I was playing a cheap guitar into a cheap solid-state amp. It really did make the whole setup sound more professional.

    As I upgraded guitars and amps, I started to use my compression pedal less and less. I just no longer needed it for the reason I initially did (to compensate for crappy gear). But I did just put it back on my board after several years, and I’m excited to see how it responds to my latest rig.

    So, no — I don’t believe anyone needs a compression pedal to sound good, but it is a tool that may help you achieve a certain sound more easily, and it’s been my experience that it can help low-end gear sound better.

    So how about you — do you have experience with compressor pedals? What advice would you give your fellow guitarists on them? Let us know in the comments!

  • Learn These 4 Roman Numerals to Unlock Rock and Pop Music Forever

    Learn These 4 Roman Numerals to Unlock Rock and Pop Music Forever

    I — IV — V — vi.

    That’s it.

    These four Roman numerals represent 75 percent of the music we listen to today. Learn how to apply them and you can almost instantly play thousands of songs.

    And it’s simpler than you think.

    The Way-Too-Short Explanation of Western Music

    Western music is based on a 12-note scale. If you ever took piano lessons or played in a junior-high band, you might remember that each note is assigned a letter between A and G and sometimes includes symbols like # or b. Furthermore, each note is one half-step from the next.

    The full 12-note scale is called a chromatic scale, but a majority of the music we listen to actually narrows it down to just seven of those notes: the major scale. If we started at the note “G,” for example, we can write out the major scale as:

    G — A — B — C — D — E — F#

    These are the notes of the G major scale, but they also represent the chords that can be played in the key of G major. It’s simply a matter of remembering that the first, fourth, and fifth chords in the progression are major chords; the second, third, and sixth are minor chords; and the seventh is a diminished chord (which we can safely ignore almost all of the time!). This gives us the following chords:

    G — Am — Bm — C — D — Em — F#dim

    So now we can talk about Roman numerals. To make it easier for musicians to play songs in different keys, sometimes Roman numerals are used. All they do is indicate the relationships between chords in a song. You simply start at I and work your way up chord by chord to VII. And to indicate a minor (as opposed to major) chord, just use lowercase numerals.

    In our example key of G major, then, you can write out all of the chords like so:

    I — ii — iii — IV — V — vi — vii°

    So let’s go back to the beginning of the article: I — IV — V — vi. We can now determine that this sequence refers to the first, fourth, fifth, and sixth chords of a key, with the sixth chord being a minor. So if you stick with our example key, G major, I — IV — V — vi lines up with G — C — D — Em.

    And it just so happens that much of rock and pop music is based on using these four chords — and only these four chords.

    How to Use I — IV — V — vi to Make Music

    That means learning just four chords on a guitar — G, C, D, and Em — opens up a vast library of tunes you can quickly and easily learn to play. And if you want to learn a song in a different key, then all you have to do is repeat the exercise. So if you wanted to play songs in C major, then I — IV — V — vi becomes C — F — G — Am. Or for the key of E major, it’s E — A — B — C#m. And this approach works for any major key.

    The list of songs you can play using some combination of I, IV, V, and vi chords is long and varied. And the great thing is, these chords work together in any progression, meaning you can play them in any order and they still sound good together.

    For example, here are just a few examples of songs that use some or all of these chords in varying orders:

    • “Johnny B. Goode” by Chuck Berry: I — IV — V
    • “Sweet Home Chicago” by Robert Johnson: I — IV — V
    • “With or Without You” by U2: I — V — vi — IV
    • “Demons” by Imagine Dragons: I — V — vi — IV
    • “Take Me Home, Country Roads” by John Denver: I — V — vi — IV
    • “Save Tonight” by Eagle Eye Cherry: vi — IV — I — V
    • “Glycerine” by Bush: I — V — vi — IV

    Even though these songs are not all in the same key, they have the same basic chord progressions, and using the Roman numeral system makes them easy to learn and transpose to any key you want quickly.

    How Music Theory Helps You Become Better at Guitar

    Even learning a little bit of music theory — like I — IV — V — vi chords — can unlock all kinds of musical possibilities. If you’ve never seen this before, I’d encourage you to play around with these chords and see what songs you can figure out by ear. You might be surprised at just how many you’ll be able to play with very little effort.

    And if you still doubt me, then allow me to remind you of one of the earliest viral YouTube videos that proves the point:

    Every song in this video uses just the I — IV — V — vi chords.

  • How My Favorite Pedal Can Make You a Better Guitarist

    How My Favorite Pedal Can Make You a Better Guitarist

    I admit it: I have more guitars than I need.

    I’ve got a bit of a hobby — perhaps an obsession — with collecting them. I’m holding steady at about a dozen instruments these days, which seems to be enough to keep me from wanting any more…for now.

    But strangely enough, my GAS (that’s Guitar Acquisition Syndrome) doesn’t extend to amps or pedals. I am actually quite minimalistic in this regard.

    I have one amp, for example — a cheap Chinese clone of a Fender Blues Jr. It sounds fantastic, so I don’t need anything else.

    And when it comes to my pedal board, I only have the bare minimum: overdrive, chorus, and delay.

    Actually, I have one more pedal on my board, too, and it’s my favorite one — because it’s the one that helps me become a better musician.

    Enter the looping pedal

    I’m talking about my looper.

    I have the most basic of loopers on the market: the TC Electronics Ditto Looper. With one footswitch and one knob, it’s extremely simple, but it does the job.

    If you’re not familiar with looping pedals, they allow you to record yourself playing for a period of time and then replay the recording on a loop. Once you’ve laid down the basic loop, you can add on new layers to form the backdrop of a song.

    In essence, a looper allows you to accompany yourself.

    Looping stations can get quite complicated, and some musicians can do amazing things with them. If you want to see an example of this, go no further than the great Phil Keaggy.

    Geez, Phil! Leave some talent for the rest of us!

    I’m not Phil Keaggy. My playing is not even in the same universe as his. I don’t craft intricate songs with my pedal or bring in egg shakers.

    I use my looping pedal to help me practice and grow as a musician.

    But I do use my looping pedal to help me practice and grow as a musician. In fact, here are three ways that help me and hopefully can help you too.

    Be your own metronome

    I have a bad practice habit. I hardly ever use a metronome. (Don’t be like me, kids!)

    But with my looper, I can lay down my own tracks to practice things like scales or solos. And in order to lay down a good backing track, I have to have the tempo and the beat dialed in. Otherwise, the track will be off and I won’t be able to play over it.

    I have to practice playing at a consistent tempo and getting the timing down pat in order to lay down a usable loop.

    Thus I have to practice playing at a consistent tempo and getting the timing down pat in order to lay down a usable loop, and I can then use that loop as a makeshift metronome to work on other aspects of my playing.

    Learn to think like a composer

    When you want to lay down a more complicated track with multiple layers, you have to think like a composer.

    I usually start with thinking about what chord progression I want and then I have to come up with a “bass” line on my guitar that has the tempo, style, and feel that I’m going for. Once I’ve recorded that, I have to add in a suitable rhythm guitar part (or two). Next, I might have to think about how to mimic a keyboard or perhaps come up with some short guitar riffs to add a little more flavor.

    So for each part, not only do I have to find an idea that works well with the rest of the tracks, but I have to consider sonic textures as well. How can I switch effects or pickups — or occasionally even guitars — to get a different enough sound for each part? Where on the neck does each line need to be played? Can I make use of harmonics or muted strumming for a percussive effect? The possibilities are endless.

    All of these decisions help you to better understand how all the layers of a song should work together.

    All of these decisions help you to learn how to break down or build up a song and better understand how all the layers of a song should work together, because you are actually composing and arranging in that moment.

    Be your own personal practice buddy

    I don’t exactly have a lot of other guitarists living with me at my house.

    My teenage son is just starting to learn the instrument (which is pretty cool!) but he’s not much help yet if I need to practice a song for church or something.

    My looping pedal allows me to practice whatever riff, fill, or solo I need without having to wait until band practice.

    So when I need to work on a lead riff or something similar, the looper yet again comes to the rescue. For this, it’s usually good enough to just lay down a basic chord progression, but it allows me to practice whatever riff, fill, or solo I need without having to wait until band practice.

    A fun and useful tool

    All of these benefits (and more) of a looping pedal make it a fun and useful tool. Even a simple looper like the Ditto can expand your musical horizons and abilities if you know how to use it.

    If you don’t own a looper — or maybe you do and are afraid or don’t know how to use it — I’d encourage you to jump in and start. It doesn’t take long to figure out the basics, and once you do you’ll find that there are a lot of potential applications like the three I mentioned above.

    If you use a looper, I’d love to hear the cool things you’ve discovered it can do.